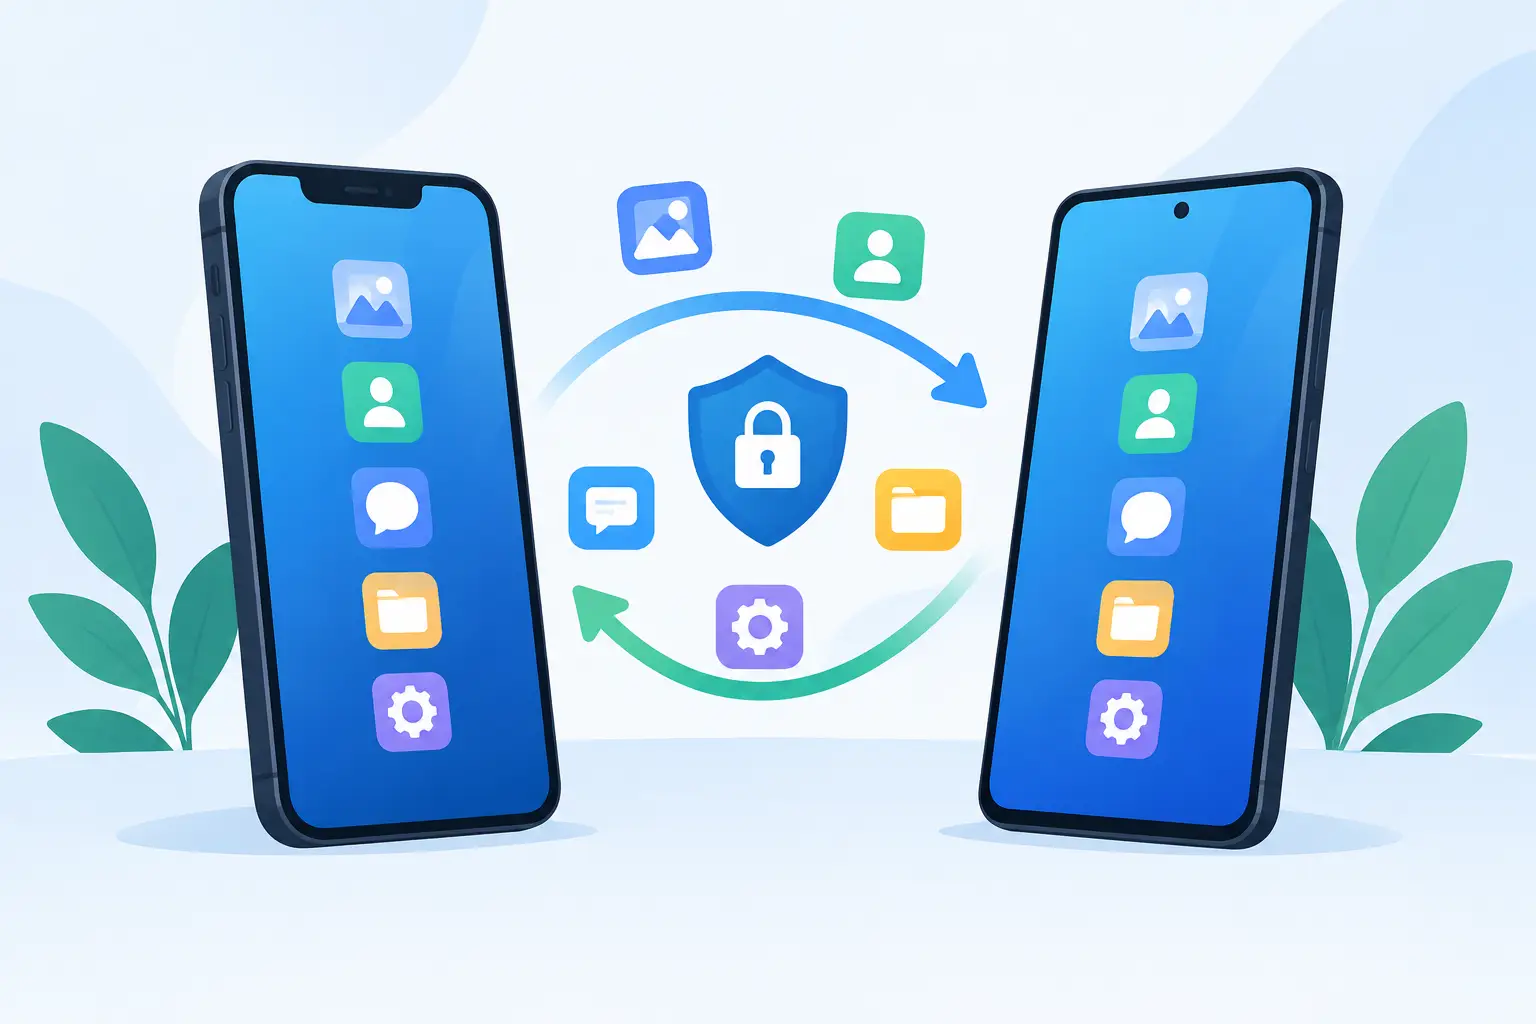
Your new phone is charged, your case is ready, and then comes the part most people put off: moving everything over. To transfer data between phones without losing photos, chats, banking access, or important files, treat the setup as more than a quick tap-and-go job. A little preparation can save you from discovering weeks later that a folder, conversation, or authenticator code never made the move.
The right method depends on what you are switching from and to. Staying within Apple or Android is usually straightforward. Moving from Android to iPhone, or iPhone to Android, takes more planning because some app data and settings cannot transfer exactly the same way. Either way, do not erase, sell, or trade in your old phone until you have checked the new one properly.
Before You Transfer Data Between Phones
Start with the basics. Update your old phone to its latest available software version, then update the new phone if it asks. Keep both devices charged above 50%, or plug them in. Use a stable Wi-Fi connection, and make sure the new device has enough available storage for what you intend to bring over.
This is also the time to check what matters most. Photos and contacts are obvious, but the items people most often miss are messaging histories, notes stored only on the phone, downloaded files, voice recordings, authenticator apps, and app-specific data. Game progress can be another surprise, especially if a game was never connected to an account.
Back up the old phone before you begin, even when you plan to use a direct cable transfer. A backup gives you a fallback if the connection drops, the new phone runs out of storage, or an app needs to be restored later. Cloud backups are convenient, while an encrypted computer backup may be better if you have a large library and limited internet bandwidth.
Do not rush past your passwords either. Make sure you know the password for your Apple Account or Google Account, your device passcode, and the password for your primary email address. If you use two-factor authentication, keep the old phone active until your authenticator codes and trusted devices are confirmed on the new one.
Choose the Best Transfer Method
Most current phones offer a setup assistant as soon as they are turned on. This is usually the best place to start because it copies core settings, accounts, contacts, photos, and compatible apps in one process.
iPhone to iPhone
For an iPhone upgrade, place the two phones next to each other and follow the Quick Start prompts. You can transfer directly from one phone to the other or restore from iCloud. Direct transfer is often the better choice when you have plenty of photos or videos and good time to leave both phones connected. It brings over more of your local information without requiring every file to download again.
An iCloud restore is useful if the old phone is unavailable or you prefer to set up the new device later. The trade-off is that photos, apps, and files may continue downloading for hours or days depending on your connection. Keep the phone on Wi-Fi and power while this finishes.
Android to Android
Android brands use slightly different names for their transfer tools, but the process is similar. During setup, connect the phones with a compatible cable when possible, or use the wireless transfer option. A cable is generally faster and more dependable for large photo libraries. It can also reduce the chance of an interrupted transfer when moving hundreds of gigabytes.
Sign in with the same Google Account used on the old phone. Your contacts, calendar entries, many app settings, and backed-up device data can then restore through your account. Some manufacturer features, such as a specific notes app or secure folder, may require their own migration step. Check those before assuming every item has moved.
Moving Between iPhone and Android
Switching operating systems is easier than it used to be, but it is not a perfect clone. Contacts, photos, calendars, and many apps can move across. Purchased apps, certain paid subscriptions, Apple-only or Android-only features, and some app data may not.
When moving to an iPhone, use Apple’s Android migration process during the iPhone’s initial setup. When moving to Android, use the new phone’s setup tool or cable transfer option. Do this before completing setup if possible. Restarting the new phone to repeat a migration later can be inconvenient.
Expect a few manual jobs. You may need to download your apps again, sign back in, set up payment cards, and recreate home-screen layouts. That is normal, not a sign the transfer failed.
Move Chats, eSIMs, and Security Apps Carefully
Messaging deserves extra attention because each service works differently. SMS and MMS messages may transfer through the phone setup tool, but chat apps often have separate backup systems. For example, an app may need you to create a chat backup on the old phone, verify the same number on the new one, and then select restore. Do not delete the app or reset the old device until you can open older conversations on the new phone.
If you use an eSIM, contact your carrier or follow its transfer prompts before wiping the old phone. Some carriers allow an eSIM to move directly during setup; others require a new activation code or a quick account verification. Physical SIM users should wait until the new phone is ready before moving the card, especially if they need an incoming text message for account verification.
Banking, payment, and authenticator apps are intentionally strict. Many will make you log in again or confirm the new device through email, text, or the old phone. Authenticator apps deserve special care. Transfer or export accounts within the authenticator app, use its approved backup feature, or save recovery codes in a secure place. Never rely on a screenshot of a one-time code.
Check the New Phone Before You Let the Old One Go
A completed progress bar does not mean every important item is in place. Spend 15 minutes checking the new phone while the old one is still available. Call or text someone, test mobile data, open your camera, and confirm that your contacts and recent photos appear correctly. Open your email, banking app, authenticator app, and the messaging apps you use most.
Then check storage. If your photo library looks smaller than expected, it may still be syncing from the cloud. Look for a sync status message in your photo app and leave the device connected to Wi-Fi. If files are missing entirely, return to the old device and make a fresh backup before troubleshooting further.
Also check less obvious items: downloaded documents, voice memos, notes, browser bookmarks, health or fitness data, smart-home apps, and Bluetooth accessories. Pair your smartwatch and earbuds again if needed. Some accessories must be unpaired from the old phone first, particularly certain watches.
Prepare Your Old Phone for Sale or Trade-In
Once the new phone is fully working, sign out of accounts on the old device and remove your SIM card if it has one. Turn off device-tracking and activation locks before performing a factory reset. This step matters. A phone that remains locked to your account can be difficult or impossible for the next owner to use.
After the reset, stop at the welcome screen. Do not sign back in to check anything. Remove cases, screen protectors only if you want to, and any personal accessories. If you are trading in a device, be honest about its condition. A working phone with clear details on scratches, battery condition, and repairs is easier to value fairly than one with surprises.
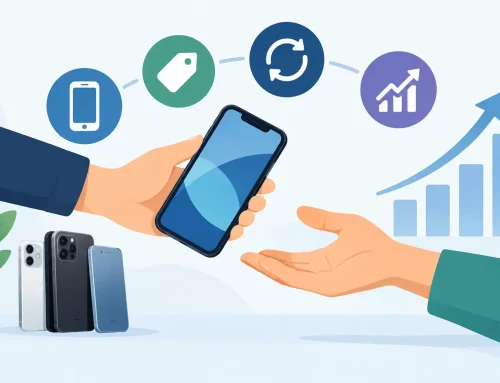
At Gadget Affair, customers who are upgrading can bring in their old device for an inspection after their transfer is complete. It is a practical way to reduce the cost of the next phone, but only after you are confident your data, accounts, and eSIM are where they should be.
A phone transfer is successful when your new device feels like yours and your old device no longer holds anything you would regret losing. Give yourself enough time, keep the old phone untouched for a day or two, and then move on with confidence.