Your phone charges only when the cable sits at a certain angle, or it keeps disconnecting on the table. Before assuming the battery is failing, learn how to clean charging ports safely. In many cases, compacted pocket lint is blocking the plug from seating fully. It is a common fix, but the wrong tool or too much force can turn a small cleaning job into a damaged port.
Why a Charging Port Stops Making a Solid Connection
Every time a phone goes into a pocket, bag, or backpack, it picks up dust, fabric fibers, and small bits of debris. When you insert the charging cable, that debris gets pushed deeper into the port. Over time, it forms a dense layer at the bottom.
The result is easy to misread. Your cable may look connected, but it does not click in firmly. Charging may start and stop, work only when you move the cable, or fail altogether. USB-C, Lightning, and older Micro-USB ports can all collect lint, although smaller ports tend to feel the problem sooner.
Not every charging issue is dirt. A worn cable, loose wall adapter, bent connector, liquid damage, or internal port failure can cause similar symptoms. Cleaning is a sensible first step because it is low-cost and quick when done carefully.
What to Use to Clean a Charging Port
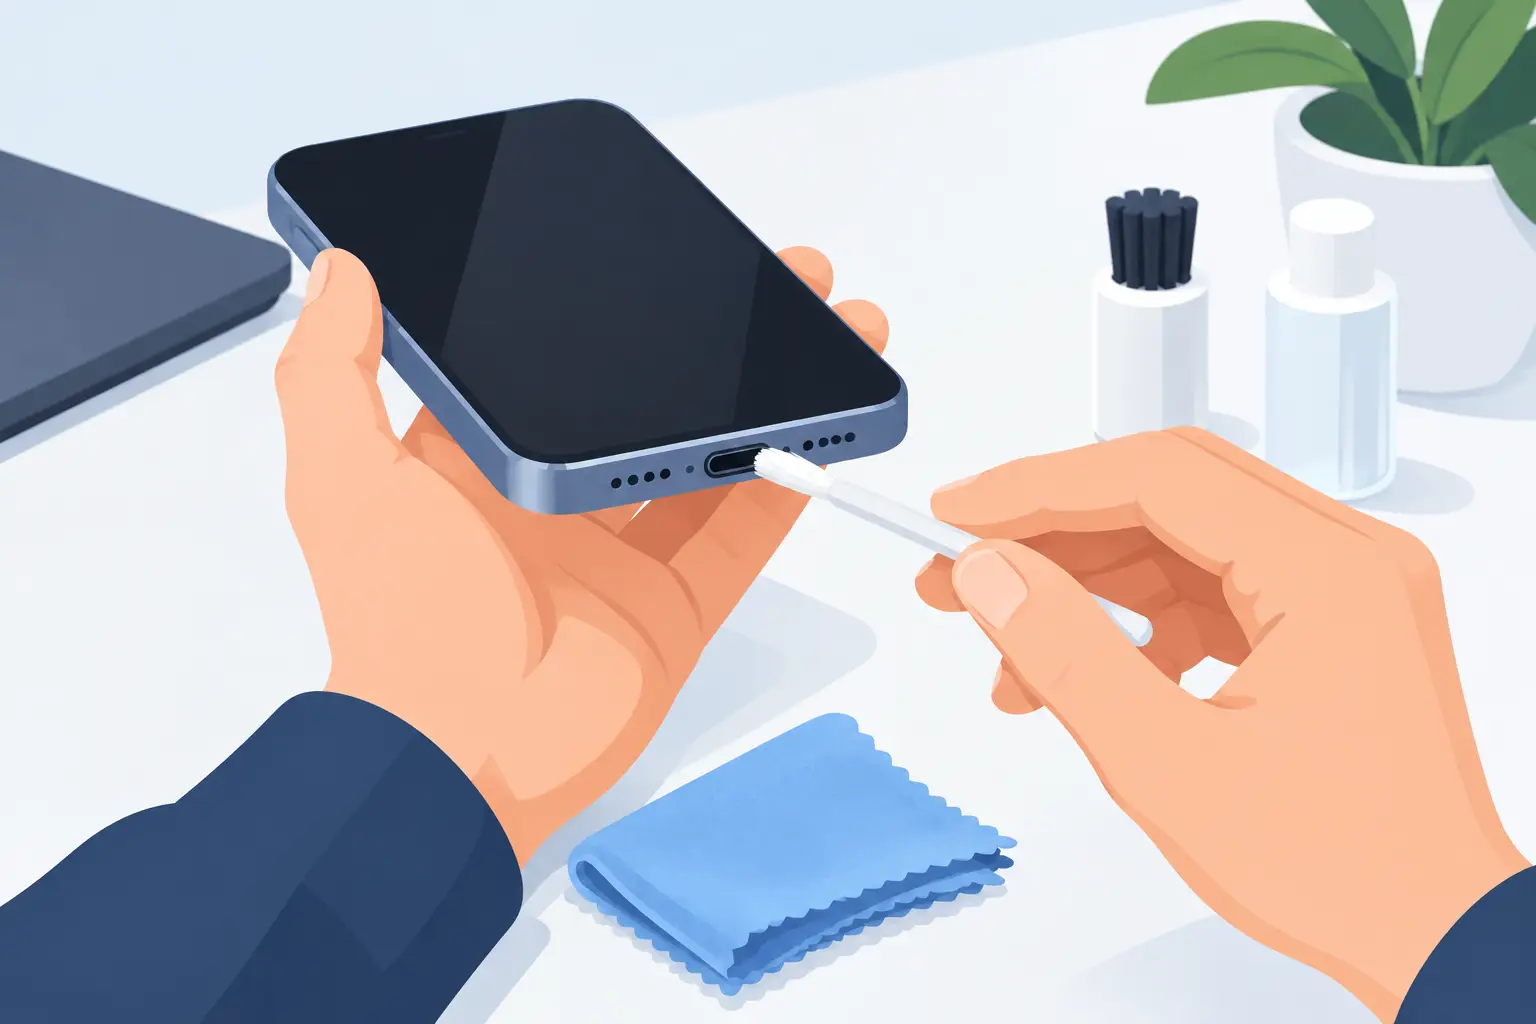
Keep the tools simple and non-conductive. You do not need a repair kit for basic lint removal. Gather a bright light, a wooden toothpick or plastic dental pick, a soft dry brush, and a can of compressed air if you have one.
Avoid metal pins, paper clips, sewing needles, tweezers, and SIM-eject tools. They can scratch the contact points or bridge delicate internal pins. Do not pour water, rubbing alcohol, contact cleaner, or any other liquid directly into the port. Even if a product is labeled safe for electronics, it is not the right first move for a phone port you cannot fully inspect.
A wooden toothpick works well because it is softer than the port components. If the tip feels too thick, gently split or shave it down. The goal is to lift lint out, not scrape the inside of the connector.
How to Clean Charging Ports Step by Step
1. Turn the device off
Power the phone, tablet, earbuds case, or wearable down completely. Remove the charging cable and any case that blocks your view of the bottom edge. Turning it off reduces the risk of a short and prevents the device from repeatedly trying to charge while you work.
If the device was recently exposed to rain, a spill, or high humidity, do not start cleaning immediately. Let it dry naturally in a well-ventilated area. A moisture warning is not something to override with a cable or a sharp tool.
2. Look inside before touching anything
Use a flashlight or bright desk lamp and inspect the port. You are looking for a gray, black, or beige mat of lint at the far end. It can look like part of the port at first, especially in a dark-colored phone.
Also look for obvious corrosion, greenish residue, bent pins, or a connector tongue that looks cracked or loose. If you see any of these, skip the DIY cleaning and have the device checked. Pushing around damaged contacts can make the repair more complicated.
3. Loosen lint with a wooden or plastic pick
Hold the phone so the port faces downward. Insert the wooden toothpick or plastic pick only a short distance, staying gentle and controlled. Run it lightly along the bottom and side walls, then pull outward to bring debris with it.
Do not jab straight into the center. On a USB-C port, the middle tongue contains contacts and needs extra care. On a Lightning port, the contacts sit along the inner sides, so work softly around the edges rather than digging aggressively.
You may be surprised by how much lint comes out. Stop every few passes, tap the device lightly with the port facing down, and inspect again under the light.
4. Use a dry brush or compressed air sparingly
A clean, soft brush can remove loose dust after you lift out the larger lint. If you use compressed air, hold the can upright and use very short bursts from a slight distance. Keep the port facing down so debris can fall out instead of being pushed deeper.
Do not hold the nozzle inside the port, and do not blast it continuously. Strong air pressure can move debris into awkward places, while an upside-down can may release moisture or propellant.
5. Test with a known-good cable
Once the port looks clear, reconnect a cable you know works properly. The plug should sit securely and feel more positive than before. Test with a reliable wall adapter, not a weak laptop USB port or a damaged power bank.
If charging starts normally and stays stable when the phone is resting still, you likely found the issue. If you still need to hold the cable at an angle, the problem may be the cable, the adapter, or the port itself.
What Not to Do When Cleaning a Phone Charging Port
The fastest way to damage a charging port is to treat it like a blocked headphone jack. Charging ports contain small connectors designed for repeated plug insertion, not forceful probing.
Do not use a metal object, even if it seems thin enough to fit. Do not drip alcohol into the port, spray cleaning fluid, or rinse it under water. Do not use a hair dryer on high heat, which can push hot air and moisture farther inside the device. And do not keep forcing a cable that will not seat properly. If it does not fit, something is blocking it or the connector may be damaged.
Wireless charging can be a temporary workaround for compatible phones, but it does not solve a dirty or loose physical port. It is still worth addressing the root cause, especially if you need wired data transfer, fast charging, or emergency charging on the go.
When Cleaning Is Not Enough
A clean port will not fix every charging fault. Try another certified or high-quality cable and adapter before assuming the phone needs repair. Cable ends wear out more often than people expect, particularly if they are bent sharply, packed loosely in bags, or used with inexpensive adapters.
If multiple cables fit loosely, the port may be physically worn. If the device gets unusually hot while charging, shows a liquid-detection alert, charges intermittently after cleaning, or does not charge at all, stop testing repeatedly. Those are signs that need a closer inspection.
This matters even more for a pre-owned phone. A properly checked used device should charge reliably with a cable that seats firmly. When testing a phone before purchase, plug it in, lightly move the cable, and confirm that charging does not cut out. It is a quick check that can save you from a frustrating repair later.
Keep the Port Clean Longer
You do not need to clean a charging port every week. For most people, inspecting it every few months is enough. If you work outdoors, carry your phone in denim pockets, or often keep it in a dusty bag, check it more often.
A simple habit helps: keep the phone in a separate pocket where possible, and avoid tossing loose tissues, receipts, or crumbs into the same compartment. A snug phone case with a port cover can reduce dust exposure, though it may be inconvenient if you charge several times a day.
If your cable suddenly feels loose, do not keep wiggling it until it works. Switch the phone off, check the port under a light, and remove only what you can see safely. A few careful minutes can restore a solid connection and help your device stay dependable when you need it most.