A new phone should feel like an upgrade, not a risk to your mobile number. Knowing how to transfer eSIM safely matters most when you are moving to a used device, trading in your old phone, or switching handsets on a busy day. One wrong tap can remove your active plan before the new phone is ready. The good news: with a little preparation, the process is usually straightforward.
What an eSIM transfer actually moves
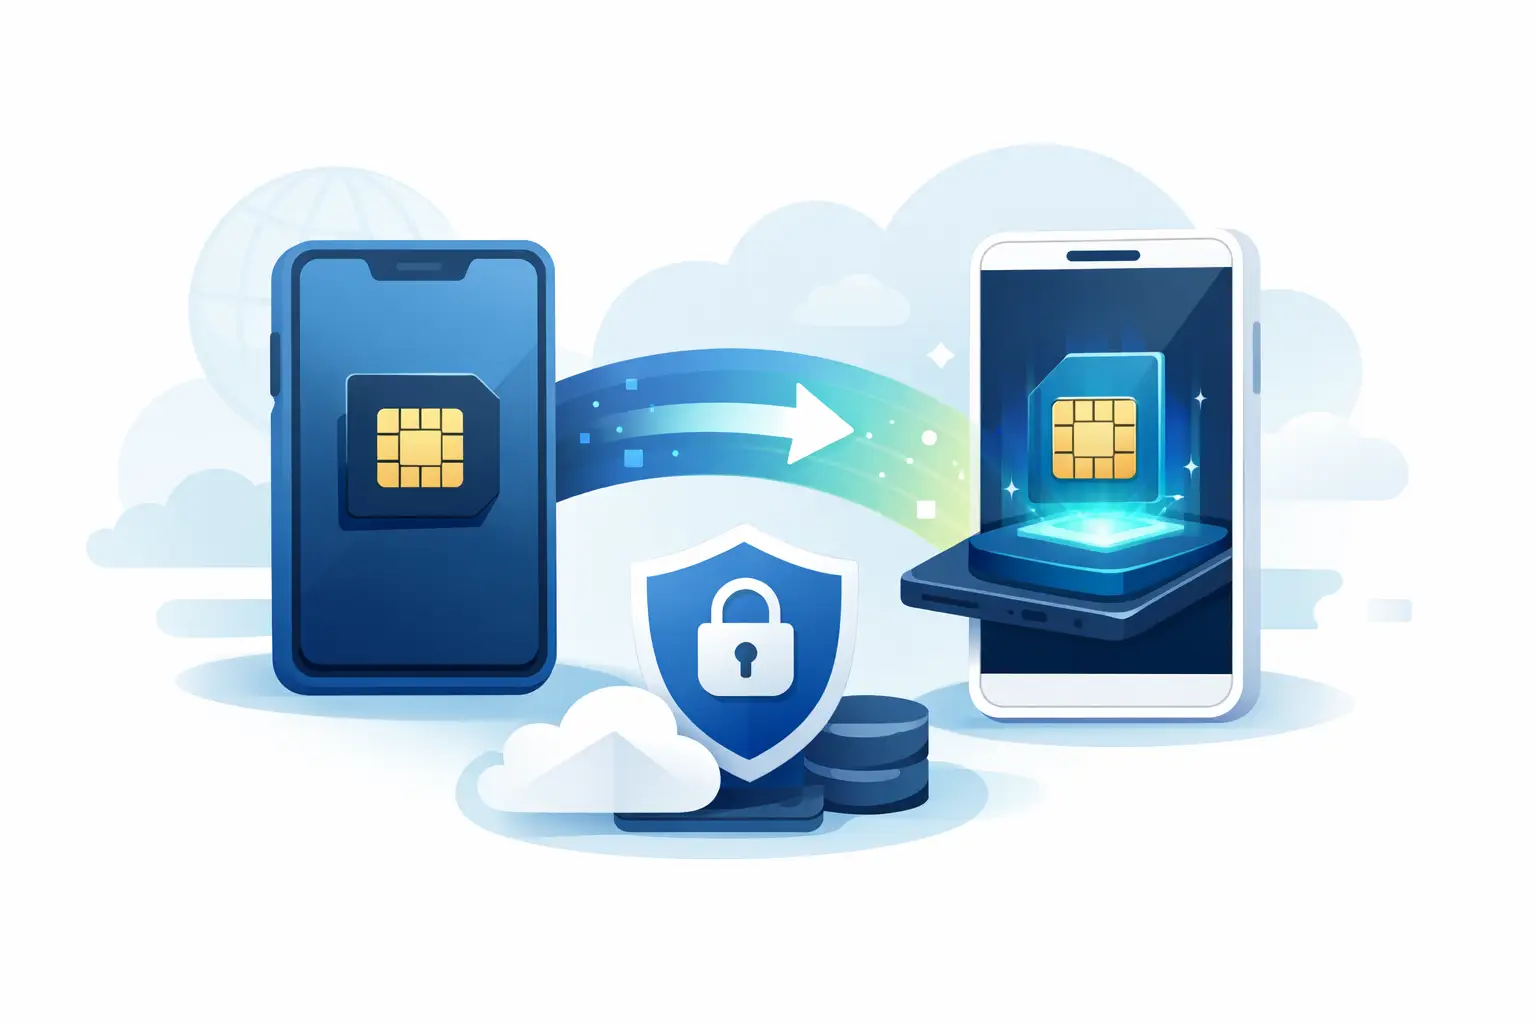
An eSIM is a digital SIM profile tied to your mobile plan. It lets your phone connect to your carrier without a physical SIM card, but it is not the same as copying photos, apps, or contacts from one device to another.
Your phone number and plan remain with your carrier. The eSIM profile is simply the authorization that tells the carrier your new phone is allowed to use that plan. That is why a normal phone backup may restore your wallpaper and messages but still leave you without mobile service.
Some carriers support a direct transfer between compatible phones. Others require you to sign in to their app, scan a new QR code, or contact support for activation. The exact screen names vary by phone and carrier, so do not remove the eSIM from the old device until your new device has working calls, texts, and mobile data.
Before you transfer eSIM safely, check these basics
Start with the new phone. Confirm that it supports eSIM and is compatible with your carrier. Most current iPhones, Google Pixel phones, and many Samsung Galaxy models support eSIM, but capability can vary by model, region, and carrier version. If you are buying a pre-owned phone, check this before completing your purchase.
Also make sure the phone is unlocked if you plan to use it with a different carrier. A carrier-locked phone can connect to Wi-Fi and look perfectly fine during setup, then reject the eSIM when you try to activate it. The device’s IMEI may also be required by your carrier, so keep it accessible.
Before starting, charge both phones, connect them to reliable Wi-Fi, and update them if a major system update is pending. Keep the old phone nearby and powered on. You may need it to approve a transfer, receive a verification text, or access an authentication app.
Have your carrier account login, account PIN, and email access ready. This is not the moment to discover that your carrier sends security codes to the number you are about to move. If possible, add a backup sign-in method to your account before beginning.
For a clean transfer, work through these checks:
- Confirm the new phone supports eSIM and is not carrier-locked.
- Back up the old phone, including authenticator apps and important messages.
- Keep both devices charged, connected to Wi-Fi, and within reach.
- Save your carrier login, account PIN, and any required recovery details.
- Do not factory-reset, sell, or erase the old phone yet.
How to transfer eSIM safely between phones
If your carrier offers an on-device transfer, start setup on the new phone and choose the option to transfer a cellular plan or eSIM from another device. Both phones may need Bluetooth enabled and may need to be signed in to the same Apple Account or Google account. Follow the prompts on both screens rather than jumping ahead.
During this process, your old phone may temporarily retain service until the carrier finishes moving the line. Once activation completes, service on the old device normally stops. That is expected. What is not expected is removing the old eSIM manually before the new phone shows an active signal and can place a call.
If your carrier uses an app or website, sign in only through the carrier’s official app or the address you normally use. Select the line you want to move, then follow the activation steps for the new device. You may be asked for the new phone’s IMEI or EID, which is the eSIM identification number. Enter these carefully. A single wrong digit can delay activation.
A QR-code activation works similarly. Your carrier provides a code that installs the eSIM profile onto the new phone. Treat that QR code like a password. Do not post it, send a screenshot to someone you do not know, or reuse an old code from a previous activation. Many carrier QR codes work only once.
If you are changing from a physical SIM to eSIM at the same time, do not remove the physical SIM until the carrier confirms the eSIM is active. Depending on the carrier, the physical SIM may stop working as soon as the eSIM is enabled. That is normal, but only after you have verified the new phone is connected.
Test the new phone before touching the old one
Seeing signal bars is a good sign, but it is not enough. Test the features you actually rely on. Make a call to another number, send and receive a text, turn off Wi-Fi and load a webpage using mobile data, and check that your number appears correctly in the phone’s cellular settings.
If you use banking apps, messaging apps, or two-factor authentication, test those too. Some services identify a new device and ask you to sign in again. Handle that while the old phone is still available, especially if it contains your authentication codes.
Give the new line a little time before declaring the transfer complete. Carrier provisioning can take a few minutes, and occasionally longer. If calls work but data does not, or data works but texts fail, restart the new phone once and check whether there is a carrier settings update. Do not repeatedly delete and reinstall the eSIM profile unless your carrier tells you to. That can make a simple activation issue harder to fix.
Selling or trading in the old phone? Erase it last
Once your new phone is fully working, remove the old eSIM plan from the old device if it did not disappear automatically. Then sign out of the device account and disable activation protection, such as Find My on an iPhone or Factory Reset Protection on Android. Finally, erase the device using its built-in factory-reset option.
The order matters. Erasing a phone before confirming the eSIM transfer can cut off access to verification codes or carrier prompts. Leaving your account signed in after a reset can cause problems for the next owner and may affect a trade-in assessment.
If you are trading in or selling a phone, take a few minutes to check that no eSIM plan, personal photos, payment cards, or account locks remain. At Gadget Affair, customers considering an upgrade can test the replacement device and sort out the transfer before handing over the old one. It is a small step that avoids a lot of unnecessary back-and-forth.
Common eSIM transfer problems and what to do
The most common issue is trying to transfer a plan to a phone that is locked to another carrier. Confirm the lock status before spending time on activation. If the phone is unlocked and still will not activate, verify the IMEI and EID entered in the carrier system.
Another common problem is a missing verification code. Keep the old phone active until the new plan is confirmed, and use Wi-Fi calling or a backup email method if your carrier offers one. If the old eSIM has already stopped working and you cannot receive a code, contact the carrier directly and be ready to verify your account.
Travel eSIMs need extra care. A travel data plan is usually separate from your regular carrier number, so moving your main eSIM does not automatically move a travel plan. Check each plan separately and label them clearly in your phone settings. You do not want to accidentally use expensive roaming data because the wrong line is selected for mobile data.
If your eSIM was deleted by mistake, do not panic and do not use a random QR code found online. Contact your carrier for a replacement activation method. They can usually issue a new eSIM profile after confirming your identity.
A safe eSIM transfer is mostly about timing: prepare the new phone, move the plan through the carrier-approved method, test every essential function, then erase the old device. Keep that order, and your upgrade stays an upgrade.